Hello! In this article, we’ll take a look at Using the Xmonad Tiling Window Manager (Basics).
Previously, I introduced the tiling window manager Awesome in Using the Awesome Window Manager as a Linux GUI Environment. Since I also enjoy using Xmonad, I’d like to introduce it as another excellent tiling window manager.
There are already many configuration examples and tutorials available online, but I’d like to summarize the basics here as both a guide and a personal reference. This article focuses on the fundamental usage of Xmonad. For detailed configuration and customization, please refer to Using the Xmonad Tiling Window Manager (Customization).
What is Xmonad?
Xmonad is a tiling window manager written in Haskell and is popular among engineers because of its extensive customization capabilities. (There are many alternatives such as i3 and Awesome, so I wouldn’t say Xmonad is uniquely popular.)
For users who want to build a lightweight desktop environment or customize a minimal Linux installation, Xmonad is an excellent choice.
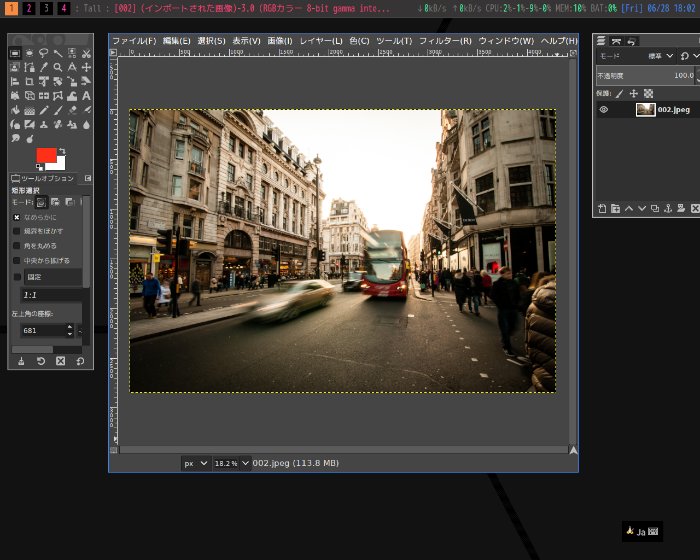
Although it is primarily a tiling window manager, it also supports floating windows, allowing applications such as GIMP to work comfortably without sacrificing usability.
One distinctive characteristic of Xmonad is that its configuration file is written in Haskell. This can be intimidating for users unfamiliar with Haskell’s unique syntax. Another thing to keep in mind is that new functions have been added over the years, so some configuration examples found online may be outdated.
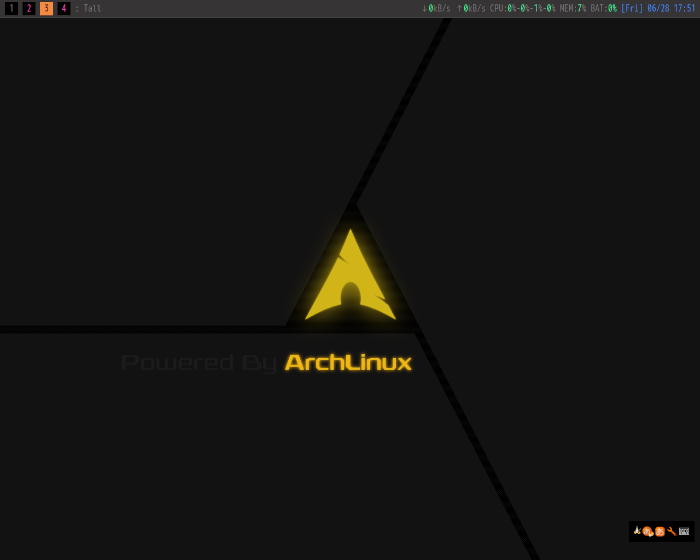
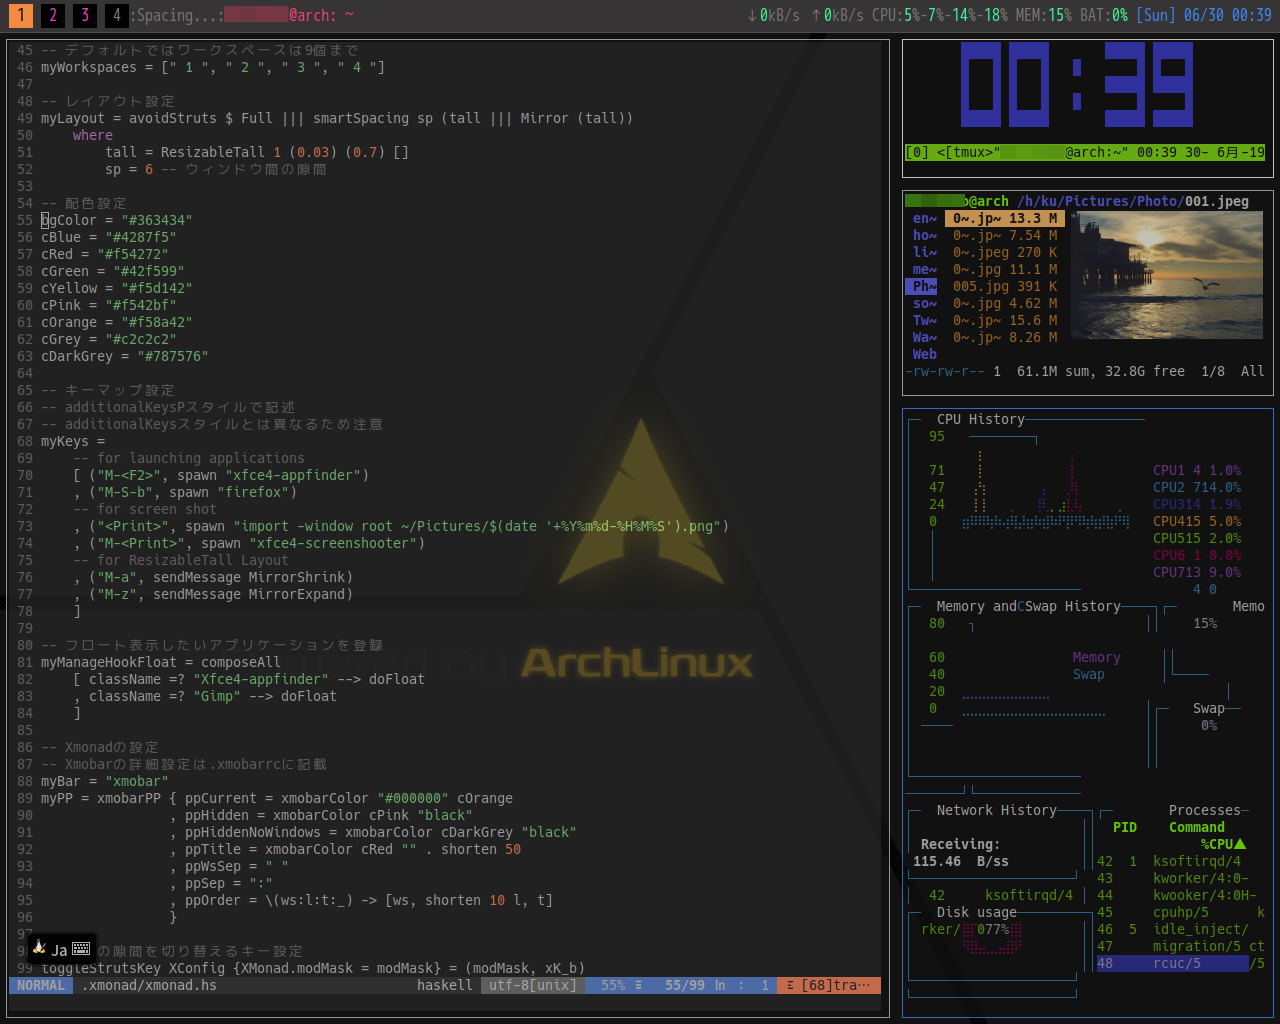
Below is a screenshot of my current Xmonad desktop. It’s not as heavily customized as some enthusiasts’ setups, but it already serves as a very practical desktop environment.
Installing Xmonad
Package names may differ depending on your Linux distribution, so always check your package manager before installing.
As far as I’ve confirmed, the following commands will install Xmonad. If you already have dmenu or gmrun installed, you can omit them. If you already use another launcher such as xfce4-appfinder, you can also bind it to a keyboard shortcut instead.
Arch Linux
$ sudo pacman -S xmonad xmonad-contrib dmenu gmrun
Gentoo Linux
$ sudo emerge -av xmonad xmonad-contrib dmenu gmrun
Ubuntu / Debian
$ sudo apt install xmonad libghc-xmonad-dev libghc-xmonad-contrib-dev suckless-tools gmrun
For installation instructions on other distributions, please also refer to:
http://wiki.haskell.org/Xmonad/Installing_xmonad
Configuration and Compilation
Xmonad is configured using the Haskell programming language.
Although this may seem intimidating at first, you don’t need to become a Haskell expert just to configure Xmonad. Learning the basic syntax is enough to get started, and you can gradually add more configuration as you become familiar with it.
The Simplest Configuration
Let’s begin with the simplest possible configuration.
This configuration starts Xmonad without any customization. Since it simply displays an empty screen, it may seem a bit confusing at first.
~/.xmonad/xmonad.hs
import XMonad

main :: IO()
main = do
    xmonad defaultConfig
Compiling
Whenever you modify xmonad.hs, you must recompile it.
Compile it with:
$ xmonad --recompile
If compilation succeeds, restart Xmonad:
$ xmonad --restart
If Xmonad is already running, you can also restart it by pressing Alt + q.
Starting Xmonad
Starting with startx
Configure your .xinitrc as follows.
If you use .xinitrc, you can also launch any applications you want before Xmonad starts. In the following example, IM environment variables are configured, fcitx is launched, and the wallpaper is restored beforehand.
.xinitrc
export LANG=ja_JP.UTF-8
export GTK_IM_MODULE="fcitx"
export QT_IM_MODULE="fcitx"
export XMODIFIERS='@im=fcitx'
export DefaultIMModule=fcitx
xrdb ~/.Xresources
fcitx &
feh --bg-scale ~/path/to/wallpaper.png &
exec xmonad
Starting with a Display Manager (GDM, LightDM, etc.)
Personally, I don’t use a display manager, although many desktop users probably do.
When I tested it on Arch Linux, LightDM automatically detected Xmonad, allowing me to select it from the session menu without any additional configuration.
Restarting Xmonad
Whenever you modify and recompile your configuration, you must restart Xmonad for the changes to take effect.
You can restart it using either the following command or by pressing Mod (Alt by default) + q.
$ xmonad --restart
Exiting Xmonad
Knowing how to exit your window manager is just as important as knowing how to start it.
Press Mod (Alt by default) + Shift + q to exit Xmonad.
If you get lost while experimenting with the configuration or simply want to switch to another window manager, you can safely exit using this shortcut.
Basic Xmonad Usage
Xmonad is primarily designed to be operated from the keyboard.
Although some mouse operations are supported, you’ll want to become familiar with the basic keyboard shortcuts for efficient use.
Viewing the Manual
Whenever you’re unsure about something, consult the manual.
$ man xmonad
Common Keyboard Shortcuts
The following are the keyboard shortcuts you’ll likely use most often. By default, the Mod key is Alt.
| Shortcut | Function |
|---|---|
| mod-shift-return | Launch the terminal |
| mod-p | Launch dmenu |
| mod-shift-p | Launch gmrun |
| mod-space | Cycle through window layouts |
| mod-shift-space | Reset the current window layout |
| mod-n | Resize the focused window |
| mod-tab, mod-j | Focus the next window |
| mod-shift-tab, mod-k | Focus the previous window |
| mod-h | Expand the master area |
| mod-l | Shrink the master area |
| mod-[1-9] | Switch to the corresponding workspace |
| mod-shift-[1-9] | Move the focused window to the corresponding workspace |
| mod-?, mod-shift-slash | Display the key bindings |
| mod-Mouse Button 1 | Move the window into floating mode |
| mod-Mouse Button 2 | Resize the window by dragging |
| mod-Mouse Button 3 | Resize a floating window by dragging |
| mod-q | Restart Xmonad |
| mod-shift-q | Exit Xmonad |
Launching Applications
Some users may only need a terminal, but in most cases you’ll want to launch applications such as a web browser or music player.
You can start dmenu with Mod + p, or gmrun with Mod + Shift + p, and launch applications from there.
Running Programs When Xmonad Starts
If you’re launching Xmonad from .xinitrc, you can simply add commands for any applications you want to start before executing Xmonad.
However, when starting Xmonad from a display manager, that approach isn’t available, so startup programs should be configured within Xmonad itself.
This is also where you’ll configure applications such as your wallpaper setter and Japanese input method.
Setting the Wallpaper
Xmonad itself does not include a wallpaper feature.
Instead, you’ll need to use an external application such as feh.
Configure it using the method shown in the next section, Minimal Customization with startupHook.
Minimal Customization with startupHook
Now let’s make a few small improvements to our current xmonad.hs.
At a minimum, we’ll configure:
- the terminal application
- the Mod key
startupHook
~/.xmonad/xmonad.hs
import XMonad

main :: IO()
main = do
    xmonad myConfig

myConfig = defaultConfig
    { -- Configuration goes here
      terminal = myTerminal
    , startupHook = myStartupHook
    , modMask = mod4Mask -- Enables the Super (Windows) key as the Mod key
    }

myTerminal = "xterm"

myStartupHook = do
    -- Set the wallpaper
    spawn "feh --bg-scale ~/path/to/wallpaper.png"

    -- Add any other startup applications below
Be sure to define myStartupHook using a do block.
Using a do block allows you to launch multiple applications during startup.
After recompiling and restarting Xmonad with this configuration, your wallpaper should appear as shown below.

Japanese Input Environment
One of the first things many users wonder after switching desktop environments is whether Japanese input will continue to work.
Fortunately, fcitx works perfectly well with Xmonad, so setting up Japanese input isn’t particularly difficult.
If you’re starting Xmonad with startx, simply configure the necessary environment variables and launch fcitx from .xinitrc. (Since this was already covered earlier, the example is omitted here.)
If you’re using a display manager such as LightDM, fcitx should start automatically.
For more information, please refer to the Arch Wiki.
Using xmobar
Xmonad can be used together with xmobar, a lightweight status bar.
By using xmobar, you can display useful information such as the battery level, current time, and CPU usage. There are many configuration examples available online, and experimenting with different settings can be a lot of fun.
Installation
To use xmobar, install the xmobar and xmonad-contrib packages. (These package names are used on Arch Linux and Gentoo Linux. They may differ on other distributions.)
Note for Gentoo users: Make sure the xft USE flag is enabled. Otherwise, xft fonts will not be available, which can lead to an unusable configuration.
Below are the installation commands for several popular distributions.
Arch Linux
$ sudo pacman -S xmobar
Gentoo Linux
$ sudo emerge -av xmobar
Ubuntu / Debian
$ sudo apt install xmobar
Basic xmobar Configuration
Let’s start with the minimum configuration required to use xmobar. More advanced customization will be covered in the next article.
The xmobar configuration is stored in ~/.xmobarrc.
For now, create the following minimal configuration:
~/.xmobarrc
Config {font="monospace"}
Next, modify ~/.xmonad/xmonad.hs as follows.
~/.xmonad/xmonad.hs
import XMonad
import XMonad.Hooks.DynamicLog

main :: IO()
main = do
    xmobar myConfig >>= xmonad

myConfig = defaultConfig
    { -- Configuration goes here
      terminal = myTerminal
    , startupHook = myStartupHook
    , modMask = mod4Mask -- Enables the Super (Windows) key as the Mod key
    }

myTerminal = "xterm"

myStartupHook = do
    -- Set the wallpaper
    spawn "feh --bg-scale ~/path/to/wallpaper.png"

    -- Add any other startup applications below
Recompile and restart Xmonad.
If everything is configured correctly, xmobar should appear at the top of the screen as shown below. (The screenshot is fairly small, so it may be a little difficult to see.)

We’ll cover xmobar customization in the next article. Stay tuned!
Conclusion
Following my previous introduction to Awesome, this article covered another popular tiling window manager: Xmonad.
Compared with full desktop environments such as GNOME or KDE, Xmonad provides only a minimal desktop experience out of the box. However, for programming and other productivity-focused workflows, its flexibility and extensive customization make it an exceptionally comfortable window manager.
Despite being lightweight and simple, Xmonad allows you to build a desktop environment that truly reflects your own workflow and preferences. I believe this makes it an excellent choice for engineers and power users alike.
I hope you found this article helpful.
