Hello! In this article, we’ll take a look at hikari, a Wayland compositor for Void Linux.
Building on the minimal Void Linux environment created in Installing Void Linux on a UEFI + GPT System: Building a Minimal Environment, we’ll install hikari and get it up and running. In a future article, I’ll cover how to customize the environment to make it more practical for everyday use.
What Is hikari?
hikari is a Wayland compositor (and window manager) that is actively developed in the BSD community.
If you’re unfamiliar with Wayland compositors, please refer to What Is Wayland?.
One of hikari’s defining features is that although it is a stacking window manager, it offers a workflow and level of customization similar to tiling window managers such as i3 and Sway. It’s an excellent choice for users who prefer keyboard-driven workflows but aren’t quite comfortable with traditional tiling window managers.
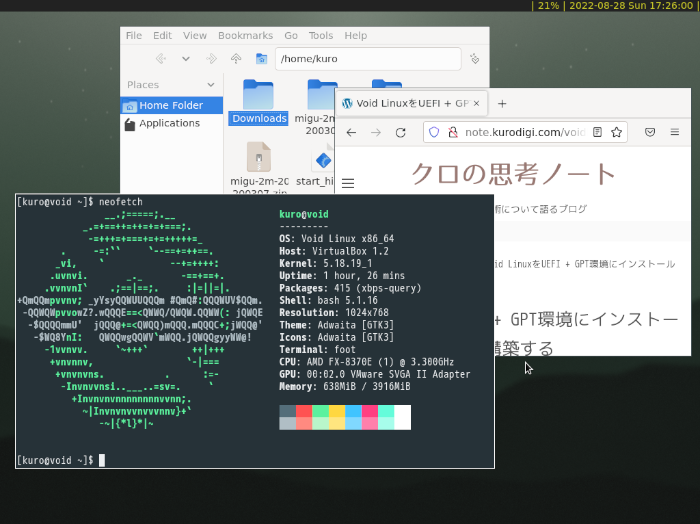
My Void Linux + hikari desktop
The official hikari website is available here:
https://hikari.acmelabs.space/
Preparing the System
Before installing hikari (or other Wayland compositors such as Sway), you need to configure access to seats, which are collections of hardware devices used by graphical sessions.
In this guide, we’ll use elogind together with polkit to provide this functionality.
Another popular alternative is seatd, but we’ll use the following packages:
- dbus
- elogind
- polkit
Install them with:
sudo xbps-install \
dbus \
elogind \
polkit
Next, enable the dbus service.
Void Linux uses runit instead of systemd, so service management is slightly different.
Enable the service with:
sudo ln -s /etc/sv/dbus /var/service/
Once you’ve completed these steps, reboot your system so that the dbus service starts correctly.
Installing the Required Packages
Now let’s install the packages required to run hikari.
For this guide, we’ll use foot as the terminal emulator and bemenu as the application launcher. Both are native Wayland applications.
Install the following packages:
- hikari
- xorg-fonts
- mesa-dri
- xorg-server-xwayland
- bemenu
- foot
Run:
sudo xbps-install \
hikari \
xorg-fonts \
mesa-dri \
xorg-server-xwayland \
bemenu \
foot
Editing the Configuration File
The default configuration file is located at /etc/hikari/hikari.conf.
Copy it into your home directory before making any changes.
mkdir -p ~/.config/hikari
cp /etc/hikari/hikari.conf ~/.config/hikari/
Next, edit hikari.conf.
For this guide, we’ll configure only the keyboard shortcuts required to launch a terminal and an application launcher. If you’d like to assign additional shortcuts, simply add them to the actions section and bind them in the bindings section.
~/.config/hikari/hikari.conf
... omitted

actions {
  terminal = "foot"
  menu = "bemenu-run"
}

bindings {
  keyboard {
    ... omitted

    "L+Return" = action-terminal
    "LS+m" = action-menu

    ... omitted
  }
}
With this configuration:
- Super + Shift + M launches bemenu.
- Super + Return launches foot.
Configuring the Keyboard Layout
The keyboard layout can be configured directly in hikari.conf.
However, hikari also respects the XKB_DEFAULT_LAYOUT environment variable. In this guide, we’ll configure the keyboard layout using the environment variable instead.
We’ll add it to the startup script described in the next section.
Creating a Startup Script
I prefer launching hikari using a startup script.
Previously, I also started the Xorg server manually with the startx command instead of using a display manager, so launching graphical sessions from the command line feels natural to me.
Create the following script named start_hikari in your home directory.
This script will contain both the required environment variables and any applications that should start before hikari launches.
Applications that should start after hikari has started (such as waybar) can be placed in ~/.config/hikari/autostart.
start_hikari
#!/bin/bash

# Environment variable settings
export XKB_DEFAULT_LAYOUT="jp"
export MOZ_ENABLE_WAYLAND=1
export WLR_NO_HARDWARE_CURSORS=1 # For VirtualBox

# Launch applications before hikari starts

# Start the Wayland compositor
exec hikari
Here’s what each environment variable does:
XKB_DEFAULT_LAYOUTspecifies the keyboard layout.MOZ_ENABLE_WAYLANDforces Firefox to run using the native Wayland backend.WLR_NO_HARDWARE_CURSORSworks around cursor rendering issues that can occur in virtual machines such as VirtualBox.
Finally, make the script executable.
chmod +x ./start_hikari
Launching hikari
Now that everything is ready, let’s start hikari.
From the console after logging in, run the following command:
./start_hikari
If everything has been configured correctly, the default wallpaper will appear.
The screenshot below shows hikari with foot and bemenu running.
You can exit hikari at any time by pressing Ctrl + Super + Alt + Q.
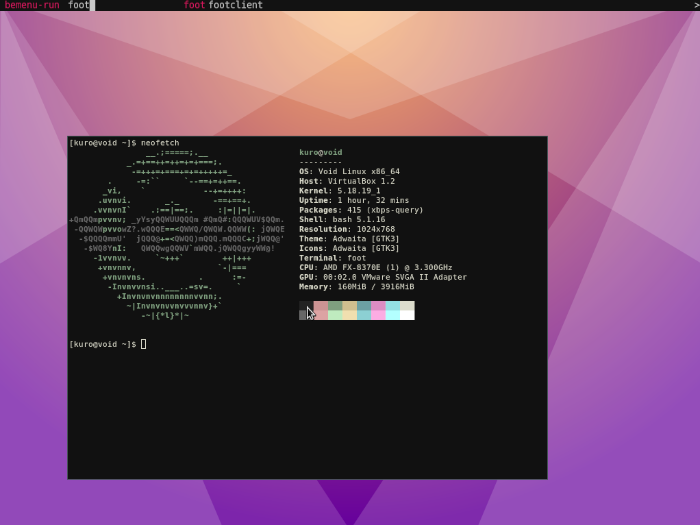
hikari before customization
Conclusion
In this article, we configured the minimum components required to get the hikari Wayland compositor running on Void Linux.
At this stage, the environment is still fairly minimal. It’s not yet particularly comfortable as a desktop environment, and Japanese language support has not been configured.
In the next article, we’ll customize this setup further to create a more practical desktop environment suitable for everyday use.