Hello! In this article, I’ll show you how to install Void Linux on a UEFI + GPT system and build a minimal environment.
Have you ever heard of Void Linux? Compared to distributions such as Ubuntu, openSUSE, and Fedora, Void Linux is less well known and may seem a bit intimidating at first. In this guide, I’ll walk through installing Void Linux and setting up a minimal system without a graphical desktop environment.
What Is Void Linux?
Void Linux is a Linux distribution that allows you to build your system from a minimal installation, much like Arch Linux or Gentoo Linux, customizing it to suit your own preferences and needs.
Unlike Arch Linux, however, Void Linux doesn’t force you to start from a completely command-line environment. Installation media with the Xfce desktop environment are also available, making it somewhat more approachable for beginners.
That said, Japanese users may encounter an additional hurdle: localization. If you’re accustomed to distributions like Ubuntu or Fedora, which can be installed in Japanese and provide Japanese input immediately after installation, Void Linux may come as a bit of a surprise.
Void Linux uses the XBPS package manager instead of APT or DNF, so users coming from Debian- or Fedora-based distributions may notice some differences in package management. It also uses runit as its service manager, which may feel unfamiliar if you’re used to systemd or OpenRC.
Although Void Linux sits somewhat outside the mainstream Linux ecosystem, it’s an interesting distribution to explore. Personally, using it reminded me of the excitement I felt when I first tried Arch Linux.
Installing Void Linux Isn’t as Difficult as You Might Think
If you’re interested in Void Linux, you may also think that installing it looks difficult.
While it’s true that Void Linux doesn’t include a polished graphical installer like Ubuntu or Fedora, it does provide a TUI (text-based) installer. As a result, installation is considerably easier than distributions such as Arch Linux or Gentoo Linux, where everything is performed manually from the command line.
The installer is available only in English, so users who aren’t comfortable with English may find it slightly challenging. However, since the installation process mainly consists of answering the installer’s prompts, anyone with a basic understanding of disk partitioning should have little trouble completing it.
Downloading the Installation Media
Download the installation image from the official download page.
https://voidlinux.org/download/
For this guide, we’ll use the base edition to build a minimal environment.
If you’d like to create a bootable USB drive by writing the ISO image directly to a USB flash drive, use the following command.
dd bs=4M if=/path/to/isofile of=/dev/sdX status=progress && sync
Booting the Installation Media
When booting the installation media in UEFI mode, GRUB appears as shown below.
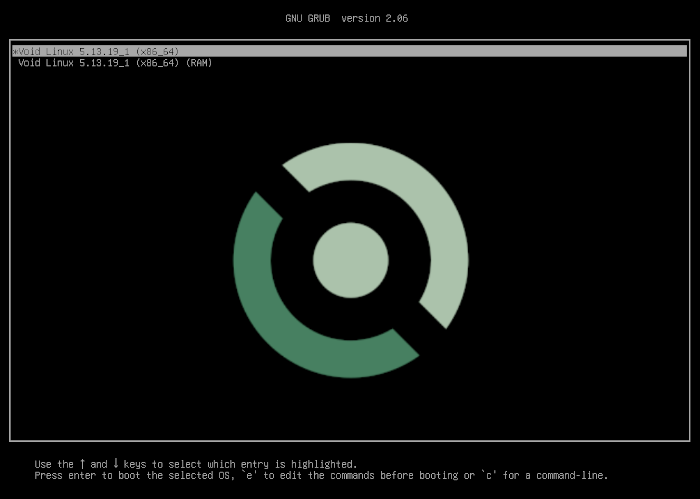
GRUB screen
Once the installation media has booted successfully, you’ll be prompted to log in.
Use the following credentials.
| Username | Password |
|---|---|
| root | voidlinux |
Launching void-installer
The installation media includes a TUI installer called void-installer.
By following the installer’s prompts, you can complete the installation smoothly.
Launch it with:
void-installer
The installer will start as shown below. Follow the menu to proceed with the installation.

Installer startup screen

Installer menu
Keyboard Layout
First, configure the keyboard layout.
For this example, select jp106.
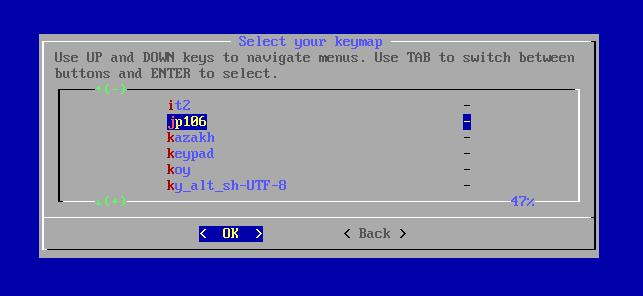
Keyboard layout configuration
Network
It’s recommended to perform the installation while connected via a wired Ethernet connection.
In this guide, we’ll configure the network using DHCP. If you’d rather use a static IP address, enter the appropriate network settings instead.
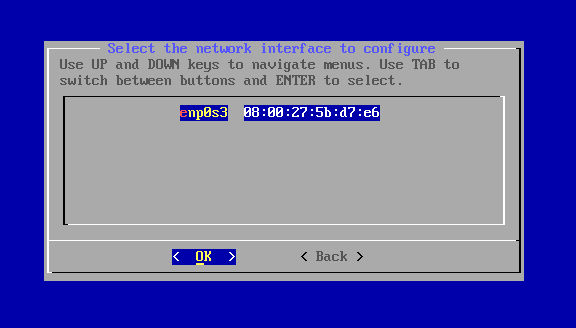
Network configuration
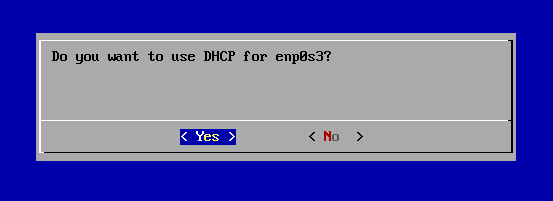
DHCP configuration
Selecting the Installation Source
Next, choose the package source for the installation.
If you want the latest packages, select Network. If you prefer a faster installation, choose Local.
If you’re installing from the Xfce edition and intend to use the bundled Xfce desktop environment, be sure to select Local.
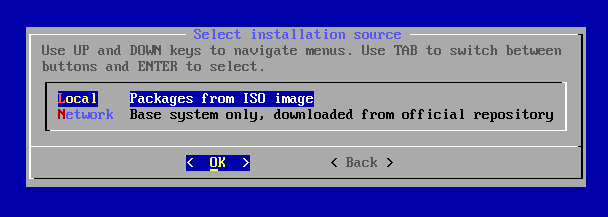
Installation source
Hostname
Choose a hostname for your computer.
In this example, we’ll use void.
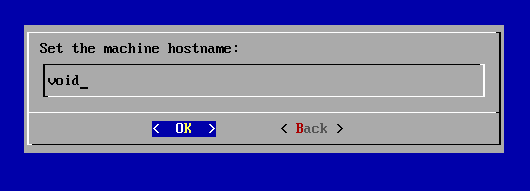
Hostname configuration
Locale
Since our goal is to build a minimal console-based environment, select en_US.UTF-8 as the locale.
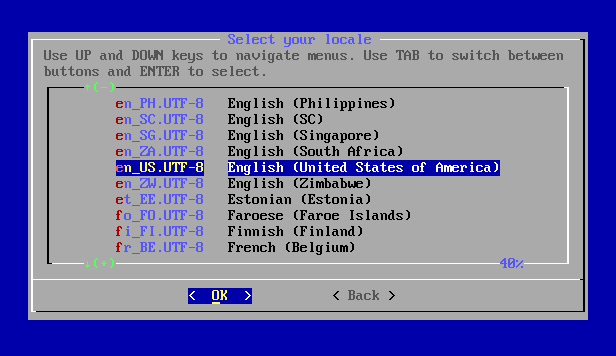
Locale configuration
Time Zone
For this guide, select Asia/Tokyo.
If you live in Japan, this is the appropriate setting.
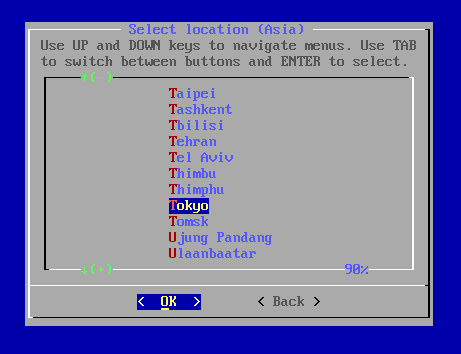
Time zone configuration
Root Password
Set a password for the root account.
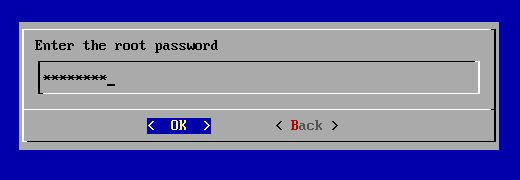
Root password configuration
Creating a User Account
Next, create a user account with administrative privileges.
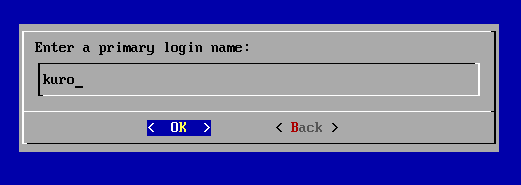
Username
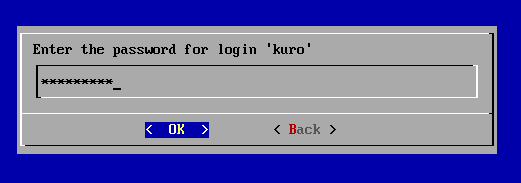
User password configuration
Add this user to the wheel group if you want to use the sudo command.
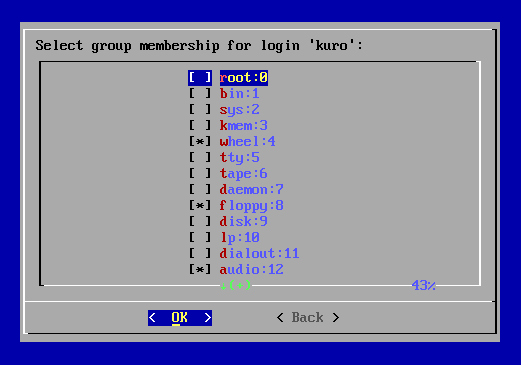
Group configuration
Bootloader
Select the device on which to install the bootloader.
On UEFI systems, choose the device that contains the EFI System Partition (ESP).
If another bootloader is already installed and can boot Void Linux, simply select none.
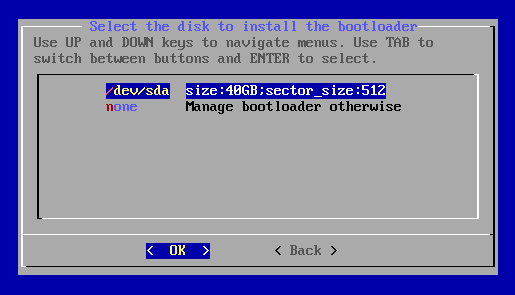
Bootloader configuration
Partitioning
Within void-installer, you can choose either fdisk or cfdisk for partitioning.
Use whichever tool you prefer.
You can also launch either tool before starting the installer if you’d rather partition the disk in advance.
For more information about Linux partitioning tools, see:
Comparing Partition Management Tools for Linux
First, select the target storage device.
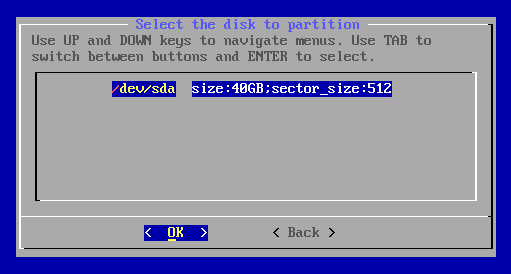
Device selection
Next, choose the partitioning tool.
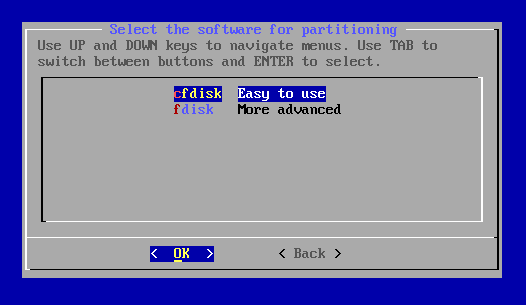
Partitioning tool selection
For this guide, we’ll use the following partition layout.
| Device | Mount Point | Filesystem | Type |
|---|---|---|---|
| sda1 | /boot | FAT32 | ESP (EFI System Partition) |
| sda2 | / | ext4 | Linux filesystem |
| sda3 | - | swap | Linux swap |
Configuring the Filesystems
Next, configure the filesystems.
Assign the filesystems and mount points according to the partition layout shown above.

Partition selection
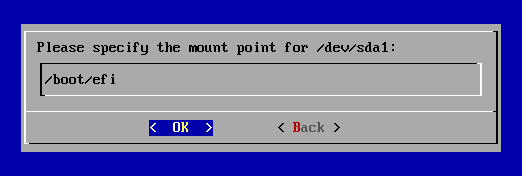
Mount point selection
Starting the Installation
Once all settings have been configured, you’re ready to begin the installation.
The installer will ask for confirmation before proceeding. Select “Yes” to start the installation.
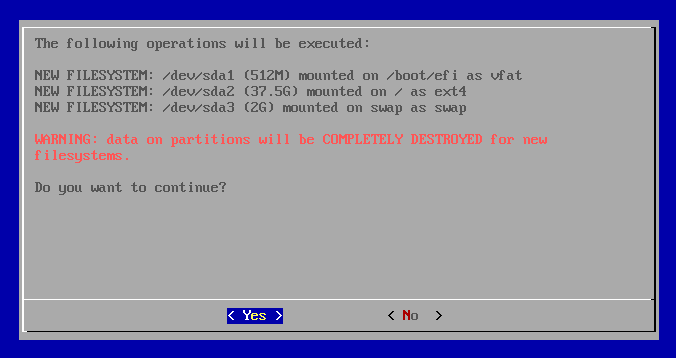
Confirmation before installation
Rebooting and Logging In
When the installation completes successfully, you’ll be asked whether you want to reboot the system.
Select “Yes” to restart your computer.
After rebooting, GRUB2 will start and boot into your newly installed Void Linux system.
Log in using the user account you created during the installation.
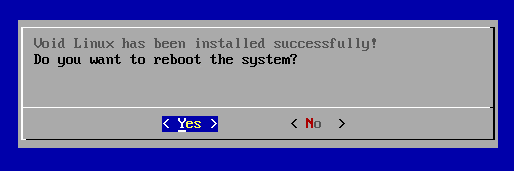
Reboot
Conclusion
Congratulations! You’ve successfully installed Void Linux.
How did the installation process go? It was probably easier than you expected.
At this point, only the base packages are installed, and no display server or desktop environment has been configured yet. As a result, graphical applications are not available.
The official Void Linux documentation contains a wealth of information on configuring and customizing your system for everyday use.
Although it isn’t as comprehensive as the ArchWiki, it provides plenty of useful guidance. Exploring the documentation and building your own personalized environment is part of what makes Void Linux so enjoyable.
I also plan to continue publishing more articles about setting up and customizing Void Linux here on this blog.
Thank you for reading, and I hope you’ll look forward to future articles!
