Hello! In this article, I’d like to introduce “Using the Xmonad Tiling Window Manager (Customization Guide).”
Xmonad is currently my favorite desktop environment. I already covered the basics in Using the Xmonad Tiling Window Manager (Basics), so this time I’ll focus on customization.
My setup is still fairly modest compared to those of long-time Xmonad enthusiasts, but I hope the configuration introduced here can serve as a solid starting point for creating your own personalized desktop environment.
Customization Example
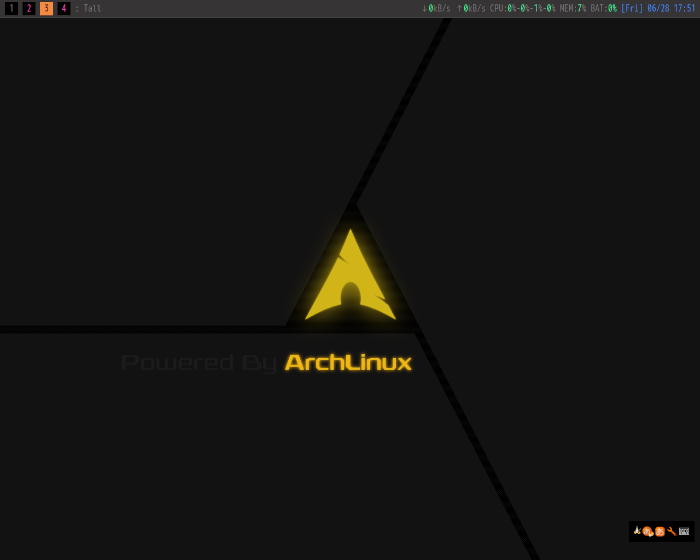
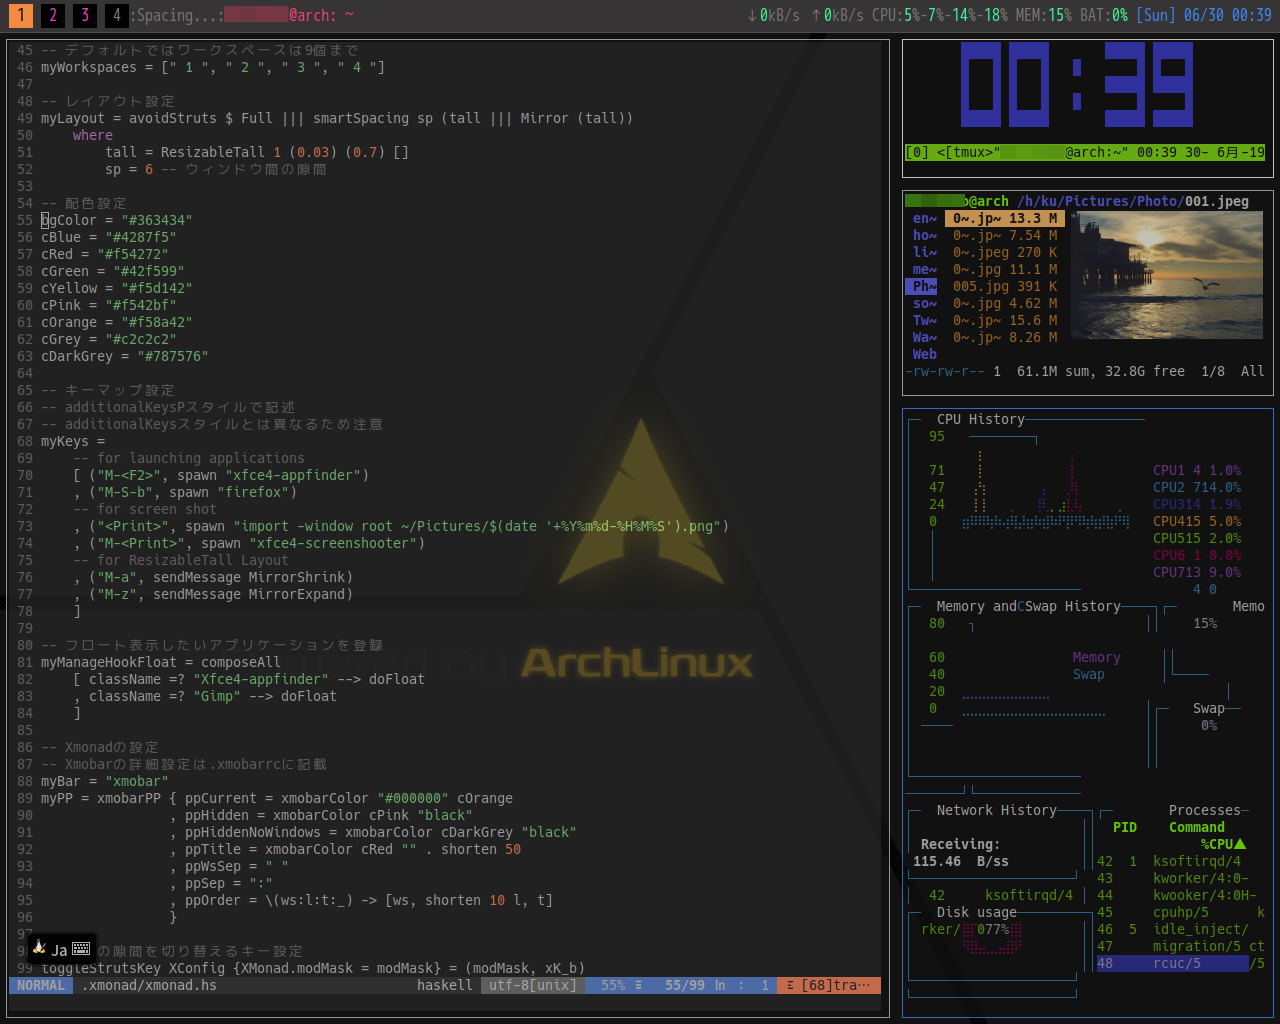
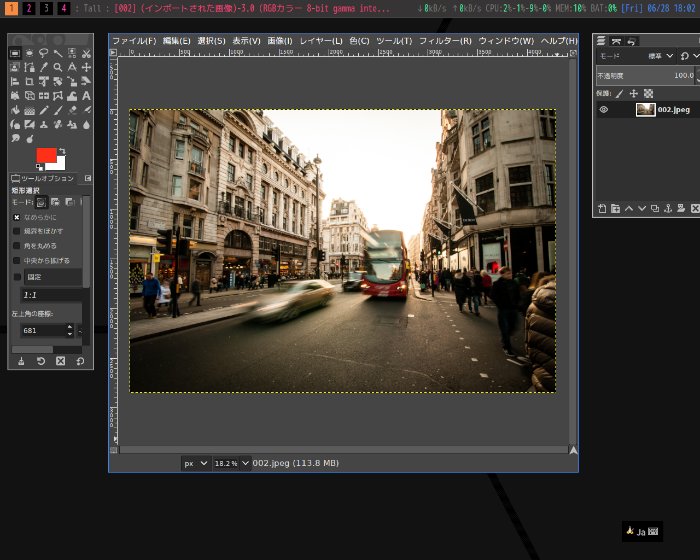
The following screenshots show Xmonad running with the configuration introduced in this article.
Experienced Xmonad users often have much more elaborate setups, but I personally prefer keeping things simple, and I’m quite happy with this configuration. This article focuses on features that most users are likely to use regularly.
Always Recompile After Editing xmonad.hs
Whenever you modify xmonad.hs, don’t forget to recompile it.
Otherwise, your changes will not take effect.
Example xmonad.hs Configuration
It’s probably easier to understand the configuration by looking at the complete file first.
~/.xmonad/xmonad.hs
import XMonad
import XMonad.Hooks.ManageDocks
import XMonad.Hooks.DynamicLog
-- import XMonad.Util.Run(spawnPipe)
import XMonad.Util.EZConfig(additionalKeysP)
import XMonad.Layout.Spacing
import XMonad.Layout.ResizableTile

-- main function
main :: IO()
main = do
    config <- statusBar myBar myPP toggleStrutsKey myConfig
    xmonad config
    -- The following styles are also commonly used:
    -- xmonad =<< statusBar myBar myPP toggleStrutsKey myConfig
    -- statusBar myBar myPP toggleStrutsKey myConfig =>> xmonad

-- Basic configuration
myConfig = defaultConfig
    { layoutHook = myLayout
    , manageHook = manageHook defaultConfig <+> manageDocks <+> myManageHookFloat
    , startupHook = myStartupHook
    , terminal = myTerminal
    , focusedBorderColor = cBlue
    , normalBorderColor = cGrey
    , borderWidth = myBorderWidth
    , workspaces = myWorkspaces
    -- , modMask = mod4Mask -- Uncomment to use the Super (Windows) key instead of Alt as the Mod key
    } `additionalKeysP` myKeys

-- Commands to execute when Xmonad starts
myStartupHook = do
    -- Wallpaper
    spawn "feh --bg-scale ~/Pictures/Wallpapers/arch-linux.png"
    -- Enable transparent xterm
    spawn "xcompmgr"
    -- Add other startup applications below

-- Terminal
myTerminal = "xterm"

-- Border width
myBorderWidth = 1

-- Workspaces
-- By default, Xmonad provides up to nine workspaces
myWorkspaces = [" 1 ", " 2 ", " 3 ", " 4 "]

-- Layout configuration
myLayout = avoidStruts $ smartSpacing sp (Mirror tall ||| tall) ||| Full
    where
        tall = ResizableTall 1 (0.03) (0.7) []
        sp = 6 -- Space between windows

-- Color settings
bgColor = "#363434"
cBlue = "#4287f5"
cRed = "#f54272"
cGreen = "#42f599"
cYellow = "#f5d142"
cPink = "#f542bf"
cOrange = "#f58a42"
cGrey = "#c2c2c2"
cDarkGrey = "#787576"

-- Key bindings
-- Written using the additionalKeysP style
-- Note that this differs from additionalKeys
myKeys =
    -- Launch applications
    [ ("M-p", spawn "xfce4-appfinder")
    , ("M-S-b", spawn "firefox")
    , ("M-C-t", spawn "xterm")

    -- Screenshots
    , ("<Print>", spawn "import -window root ~/Pictures/$(date '+%Y%m%d-%H%M%S').png")
    , ("M-<Print>", spawn "xfce4-screenshooter")

    -- ResizableTall layout
    , ("M-a", sendMessage MirrorShrink)
    , ("M-z", sendMessage MirrorExpand)
    ]

-- Applications to display as floating windows
myManageHookFloat = composeAll
    [ className =? "Xfce4-appfinder" --> doFloat
    , className =? "Gimp" --> doFloat
    ]

-- Xmobar configuration
-- Detailed Xmobar settings are stored in ~/.xmobarrc
myBar = "xmobar"
myPP = xmobarPP
    { ppCurrent = xmobarColor "#000000" cOrange
    , ppHidden = xmobarColor cPink "black"
    , ppHiddenNoWindows = xmobarColor cDarkGrey "black"
    , ppTitle = xmobarColor cRed "" . shorten 50
    , ppWsSep = " "
    , ppSep = ":"
    , ppOrder = \(ws:l:t:_) -> [ws, shorten 10 l, t]
    }

-- Toggle space reserved for the status bar
toggleStrutsKey XConfig {XMonad.modMask = modMask} = (modMask, xK_b)
A Brief Explanation of xmonad.hs
Overall Structure
Since the configuration file itself is a Haskell program, the overall structure revolves around the main function.
The statusBar function generates a configuration object, which is then passed to the xmonad function to launch Xmonad with the desired settings.
The statusBar function is a relatively recent addition, so many older configuration examples don’t use it. If you’re using Xmobar, however, it’s highly recommended because it keeps your configuration much cleaner.
Layout Configuration
For layout options, the documentation for XMonad.Layout is a good reference:
https://hackage.haskell.org/package/xmonad-0.15/docs/XMonad-Layout.html
The basic idea is to combine layouts using the ||| operator. You can cycle through the configured layouts with Mod + Space.
In this example, I use ResizableTall instead of the standard Tall layout. ResizableTall allows both horizontal and vertical resizing, which is why additional key bindings for resizing windows are included later.
For more information about ResizableTall, see:
http://hackage.haskell.org/package/xmonad-contrib-0.15/docs/XMonad-Layout-ResizableTile.html
Window spacing is handled by smartSpacing. One nice feature of smartSpacing is that it automatically removes the gaps when only a single window is open, maximizing the available screen space.
Key Bindings
Key bindings are defined in myKeys.
The myKeys list is combined with myConfig using the additionalKeysP function, so the bindings are written in the additionalKeysP style. There is also an additionalKeys function, but if you use that instead, you’ll need to change the format of myKeys accordingly.
Personally, I find the additionalKeysP syntax much easier to read and maintain. For more information, see the documentation for XMonad.Util.EZConfig:
http://hackage.haskell.org/package/xmonad-contrib-0.15/docs/XMonad-Util-EZConfig.html
Floating Applications
The myManageHookFloat setting specifies which applications should open as floating windows.
Floating windows are not constrained by the tiling layout and can be freely moved around the screen. Certain applications, such as image editors and utility dialogs, are much more convenient when displayed this way.
To make another application float, simply add a new entry to the list following the existing examples.
Xmobar Configuration
Most Xmobar settings—such as fonts, colors, and displayed widgets—are configured in ~/.xmobarrc, which we’ll cover next.
However, customization of Xmobar’s standard output (provided by StdinReader) is handled in myPP, which overrides the default xmobarPP.
Here you can customize how workspaces are displayed, the appearance of the window title, separators, and more.
For a complete list of available options, refer to the XMonad.Hooks.DynamicLog documentation:
http://hackage.haskell.org/package/xmonad-contrib-0.15/docs/XMonad-Hooks-DynamicLog.html
Configuring Xmobar
Xmobar is configured through the ~/.xmobarrc file.
In the previous article, we only specified a font, but this time we’ll build a more practical configuration.
The following is the configuration used in my environment. It is primarily based on the example from the Arch Wiki.
~/.xmobarrc
-- vim: ft=haskell
Config { font = "xft:VL Gothic:size=12"
       , bgColor = "#363434"
       , fgColor = "#787576"
       , position = TopSize C 100 33
       -- , position = Static { xpos = 37 , ypos = 0, width = 1845, height = 18 }
       , hideOnStart = True
       , lowerOnStart = True
       , overrideRedirect = False
       , border = BottomBM 0
       , borderColor = "#4e4e4e"
       , commands =
               [
               -- network activity monitor (dynamic interface resolution)
               Run DynNetwork       [ "--template" , "↓<rx>kB/s ↑<tx>kB/s"
                                    , "--Low"      , "1000"
                                    , "--High"     , "5000"
                                    , "--low"      , "#42f599"
                                    , "--normal"   , "#f58a42"
                                    , "--high"     , "#f54272"
                                    ] 10

               -- CPU monitor
               , Run MultiCpu       [ "--template" , "CPU:<total>%"
                                    , "--Low"      , "50"
                                    , "--High"     , "85"
                                    , "--low"      , "#42f599"
                                    , "--normal"   , "#f58a42"
                                    , "--high"     , "#f54272"
                                    ] 10

               -- CPU temperature
               , Run CoreTemp       [ "--template" , "Temp: <core0>°C"
                                    , "--Low"      , "70"
                                    , "--High"     , "80"
                                    , "--low"      , "#42f599"
                                    , "--normal"   , "#f58a42"
                                    , "--high"     , "#f54272"
                                    ] 50

               -- Memory usage
               , Run Memory         [ "--template" ,"MEM:<usedratio>%"
                                    , "--Low"      , "20"
                                    , "--High"     , "90"
                                    , "--low"      , "#42f599"
                                    , "--normal"   , "#f58a42"
                                    , "--high"     , "#f54272"
                                    ] 10

               -- Battery monitor
               , Run Battery        [ "--template" , "BAT:<left>%"
                                    , "--Low"      , "10"
                                    , "--High"     , "80"
                                    , "--low"      , "#42f599"
                                    , "--normal"   , "#f58a42"
                                    , "--high"     , "#f54272"

                                    , "--"
                                    , "-o", "<left>%"
                                    , "-O", "<left>%"
                                    , "-i", "<left>%"
                                    ] 50

               -- Date and time
               , Run Date "[%a] %m/%d %H:%M" "date" 10

               -- Keyboard layout
               , Run Kbd [ ("us(dvorak)", "DV")
                         , ("us", "US")
                         ]

               , Run StdinReader
               ]
       , sepChar = "%"
       , alignSep = "}{"
       , template = " %StdinReader% }{ %dynnetwork% %multicpu% %memory% %battery% %date% "
       }

-- Color settings
-- bgColor = "#363434"
-- cBlue = "#4287f5"
-- cRed = "#f54272"
-- cGreen = "#42f599"
-- cYellow = "#f5d142"
-- cPink = "#f542bf"
-- cOrange = "#f58a42"
-- cGrey = "#c2c2c2"
-- cDarkGrey = "#787576"
A Brief Explanation of .xmobarrc
Configuration Options
Detailed explanations of each configuration option can be found in the Xmobar documentation:
http://hackage.haskell.org/package/xmobar
If you’d like to learn more about each setting, it’s well worth reading.
Displayed Items
The widgets displayed in Xmobar—and their order—are controlled by the template option.
StdinReader provides Xmonad’s standard information, including:
- Workspace names
- Current layout
- Active window title
The appearance of StdinReader itself is configured in xmonad.hs, which can be a little confusing at first.
Any additional information you want Xmobar to display must first be added to the commands section using Run. Each command also lets you configure its display format, colors, refresh interval, and other options.
Fonts
The font option specifies the font used by Xmobar.
To use Xft fonts, Xmobar must have been compiled with Xft support enabled.
Most Linux distributions enable this by default, but if you’re using Gentoo, be sure that the xft USE flag is enabled before building the package.
When using an Xft font, specify it with the xft: prefix, as shown in the example above.
Final Thoughts
This concludes the customization guide, following on from the basics article.
At this point, you should have everything you need to use Xmonad as your daily desktop environment. From here, it’s simply a matter of customizing it to suit your own workflow—adding your favorite key bindings, experimenting with different layouts, and refining the overall look and feel.
Enjoy your Linux journey, and I hope this article has been helpful!
